How to Measure a Wall for Peel and Stick Wallpaper (and How Many Panels You Need)
Five measurements, one division and a two-inch allowance. Here is how to order the right number of panels the first time, with worked examples and a calculator.
By the Hazel Hollow Walls studio · 7 minute read
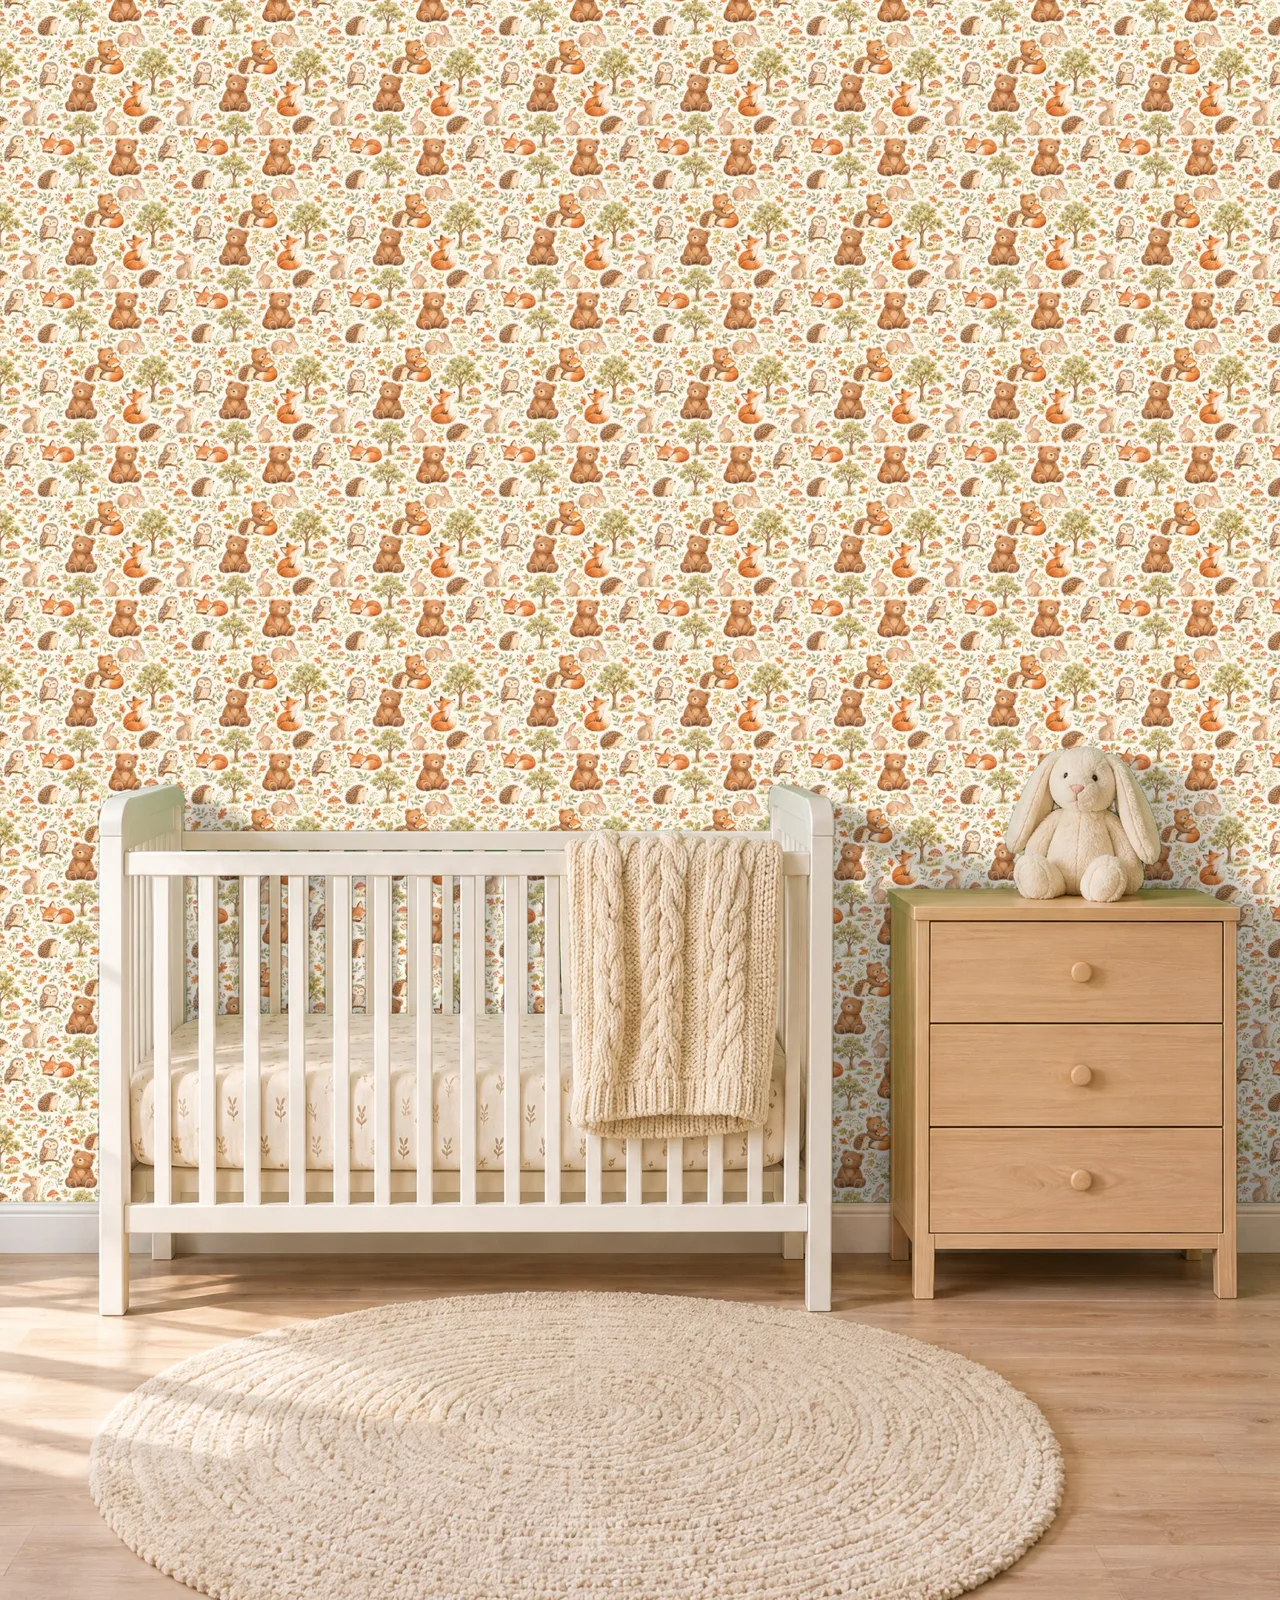
Peel and stick wallpaper is sold by the panel, and ours is printed to order. That makes measuring the most important ten minutes of the whole project: order too few panels and you wait for a second print run that may sit a shade apart from the first, order too many and the extras cost you money and return shipping. The good news is that measuring for panels is simpler than measuring for traditional rolls. There is no paste, no drop-matching waste with our straight-match patterns, and the arithmetic fits on the back of an envelope.
This guide walks through it in five steps, then works three real examples. If you only want the answer, the calculator further down does the sums for you.
What you need
- A tape measure, ideally a metal one at least 16 feet long
- A pencil and something to write on
- A step ladder, so you can measure at the ceiling instead of guessing
- A level, if you plan to hang the same day
Write every measurement down in inches. Mixing feet and inches is where most ordering mistakes start: 7 feet 9 inches is 93 inches, and 93 is the number you want on the page.
Step 1: Measure the width of the wall
Measure the wall from corner to corner along the floor, then again at about chest height and once more along the ceiling. Walls are rarely perfectly square, and a difference of half an inch between the top and the bottom is common in older houses. Use the widest of the three numbers.
If you are papering only part of a wall, for example the space between a window and a corner, measure just that part. If you are papering a whole room, measure each wall on its own and write each one down separately; you will count panels wall by wall.
Step 2: Measure the height you are covering
Measure from the ceiling down to the top of the baseboard, because that is where the paper actually goes. If the wall has no baseboard, measure to the floor. Take this measurement at both ends of the wall and in the middle, and use the tallest.
A typical American room with an 8 foot ceiling and a 3 to 4 inch baseboard has about 92 to 93 inches to cover. Older houses with 9 or 10 foot ceilings, or rooms with crown moulding, will be different, so do not assume. Measure it.
Step 3: Work out how many panels go across
Our panels are 24 inches wide. Divide the width of the wall by 24 and round up to the next whole number.
- A 96 inch wall takes 96 ÷ 24 = 4 panels exactly.
- A 124 inch wall takes 124 ÷ 24 = 5.17, so 6 panels.
- A 70 inch wall takes 70 ÷ 24 = 2.92, so 3 panels.
Always round up, even when the result is only a little over a whole number. The last panel gets trimmed to fit the corner, and that offcut is the price of a clean edge. With a straight-match pattern you do not need to buy extra panels to line the design up, because every panel starts the pattern at the same height.
Step 4: Pick the panel height
Add two inches to the height you measured. That allowance gives you about an inch to trim at the ceiling and an inch at the baseboard, which is how you get a crisp, straight edge on a wall that is never quite level. Then choose the shortest panel that is at least that tall.
| Panel | Covers a height of up to | Price per panel |
|---|---|---|
| 24 x 48 in (4 ft) | 46 in, for wainscots and half walls | |
| 24 x 96 in (8 ft) | 94 in, most 8 ft ceilings | $69 |
| 24 x 108 in (9 ft) | 106 in, most 9 ft ceilings | $75 |
| 24 x 120 in (10 ft) | 118 in, most 10 ft ceilings | $82 |
If your height is above 118 inches, for a stairwell or a double-height wall, write to us before you order. Panels are printed in one piece and joining two panels end to end leaves a visible horizontal line, so it is worth planning together.
Step 5: Doors, windows and the rest of the room
For a single feature wall with no openings, you are done: panels across, times the price of the panel height you chose.
For walls with a door or a window, the honest answer is that you usually cannot save a whole panel. Every panel is printed full length, and the strip above a door or below a window still needs paper with the pattern in the right place. You only save a panel where an opening is wider than two full panels, such as a wide patio door, and even then it is safer to count it in. The offcuts are useful for patching and for cupboard backs.
For a whole room, add up the panels wall by wall rather than measuring the total perimeter. Each corner needs its own trimmed edge, and counting walls separately builds that in.
Three worked examples
A bedroom feature wall. The wall behind the bed is 11 feet wide, or 132 inches, and 93 inches from the ceiling to the baseboard. Across: 132 ÷ 24 = 5.5, so 6 panels. Height: 93 + 2 = 95 inches, so the 8 foot panel. Order: 6 panels of 24 x 96 in, which is 6 × $69.
A kitchen nook with a window. The nook wall is 80 inches wide with a 36 inch window in the middle, and 92 inches to cover. Across: 80 ÷ 24 = 3.33, so 4 panels, and the window does not change that, because the panels above and below it still need to be full length. Height: 92 + 2 = 94, which the 8 foot panel covers exactly. Order: 4 panels of 24 x 96 in.
A small powder room. Four walls of 60, 52, 60 and 52 inches, a door on one of the 52 inch walls, and 93 inches to cover. Wall by wall: 3 + 3 + 3 + 3 = 12 panels, and the 34 inch door is far narrower than two panels, so it saves nothing. Order: 12 panels of 24 x 96 in. A powder room is a lot of panels for a small room, which is why it pays to measure each wall rather than guess.
Try it on your own wall
Put in your width and the height you are covering. The calculator rounds the panels up, adds the two inch allowance and picks the panel height for you.
Before you order: get a sample
Colour on a screen and colour on your wall are not the same thing. Your light, your paint and the time of day all change how a pattern reads. Every one of our designs comes as an 8 x 10 inch sample on the same woven fabric for $9.95. Tape it to the wall, look at it in the morning and the evening, and then order panels with confidence. If you rent, a sample is also the easiest way to check that the adhesive comes off your walls cleanly; our renter friendly wallpaper guide explains how to run that test.
A short checklist
- Width in inches, the widest of three measurements.
- Height in inches, ceiling to baseboard, the tallest of three.
- Panels across: width ÷ 24, rounded up.
- Panel height: height + 2 inches, then the shortest panel that covers it.
- Whole room: count wall by wall, and do not subtract doors or windows.
Where to start
If you are still choosing a pattern, floral wallpaper and sage green wallpaper are easy first projects for a bedroom, and bathroom wallpaper gives a small room a lot of character for only a few panels. Here are a few of our designs:
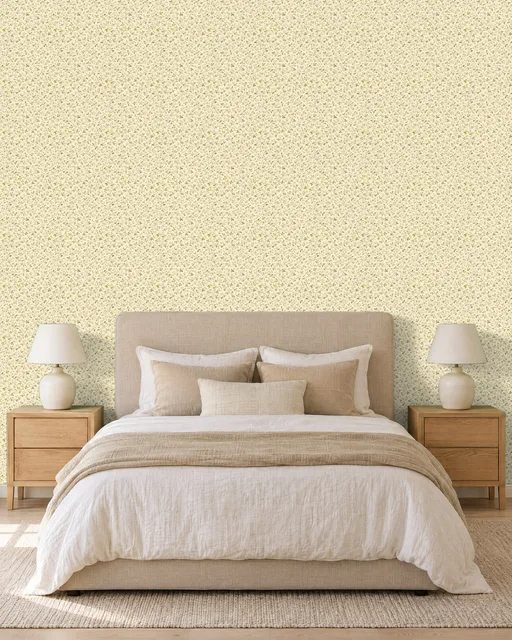
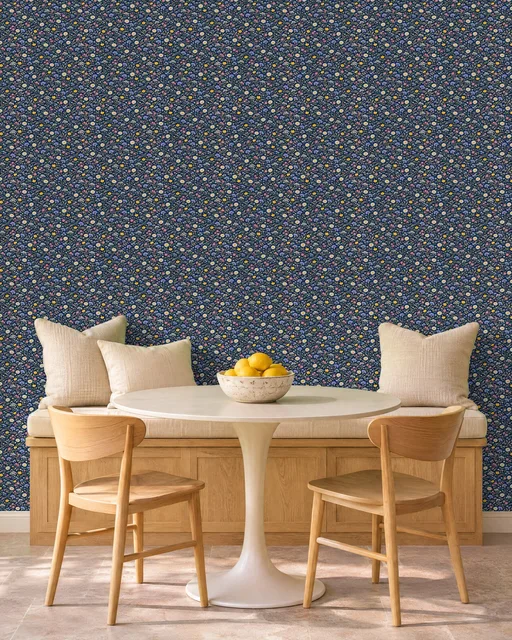

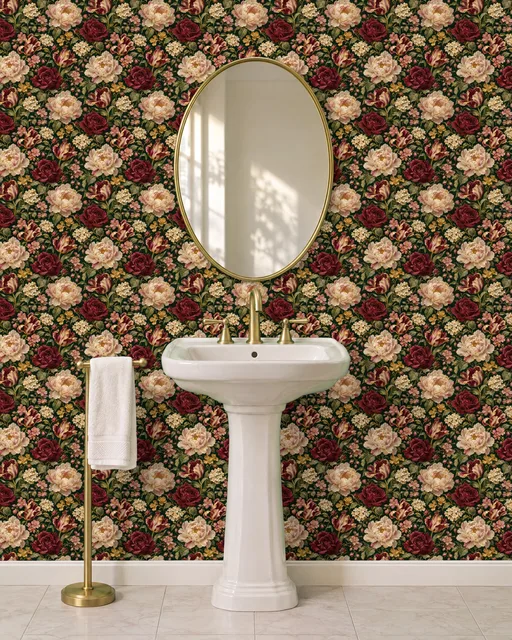

When the panels arrive, our install guide takes you from a bare wall to the last trimmed edge.